1. Get to know your subject
Whether you have the freedom to direct what your model should look like or not, it’s important that you take the time to connect with your subject. If possible, meet up with them at least once before your photo session to help set both of your expectations for the shoot. This is the time that your aspiring models will tell you their desired output, or you can let them know the kind of output you’d like. This initial meeting will also help you decide whether or not your ideas will work, as this will depend on your model’s physical appearance and abilities. More importantly, it makes you more comfortable with each other—an important factor for a successful portrait photography session.
2. Scout your location
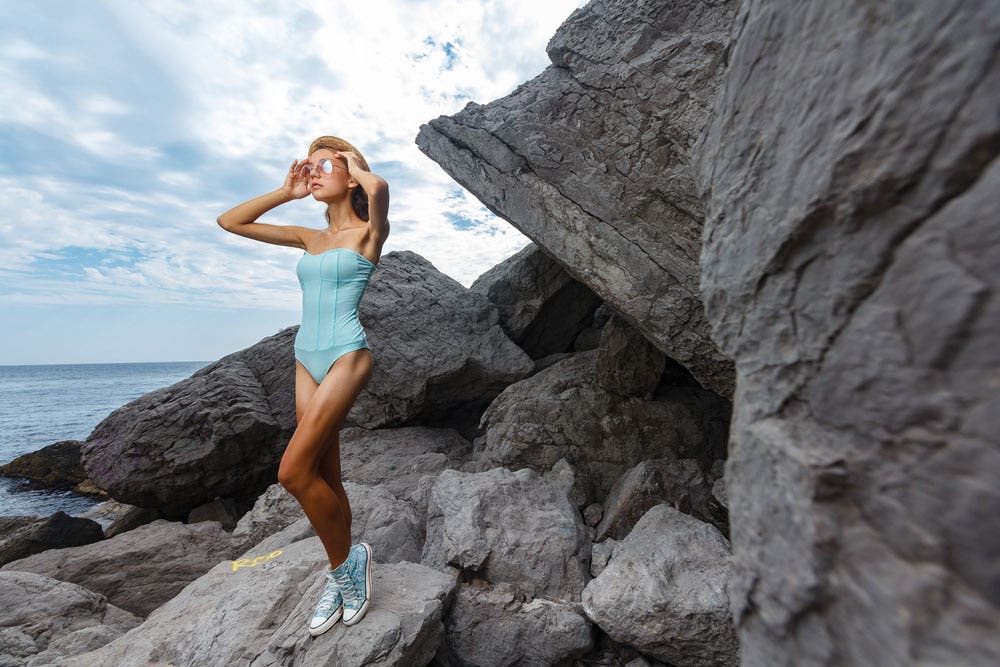
Needless to say, the results of your session always depend on your environment and lighting situation. If you’re planning on shooting outdoors, consider weather and lighting changes that expect your lighting to change as the sun changes its position. The best time to shoot outdoors is in the morning and late afternoon when sunlight is diffused. Direct sunlight produces harsh shadows and will cause your subject to squint their eyes in bright sunlight.
It’s always more controlled when you shoot indoors, but then studio photography requires a bit of know-how especially when dealing with lighting equipment.
Although your images can be fixed with post-processing, planning around your shooting situation and preparing yourself for what can happen helps save you precious time later on.
3. Know your camera
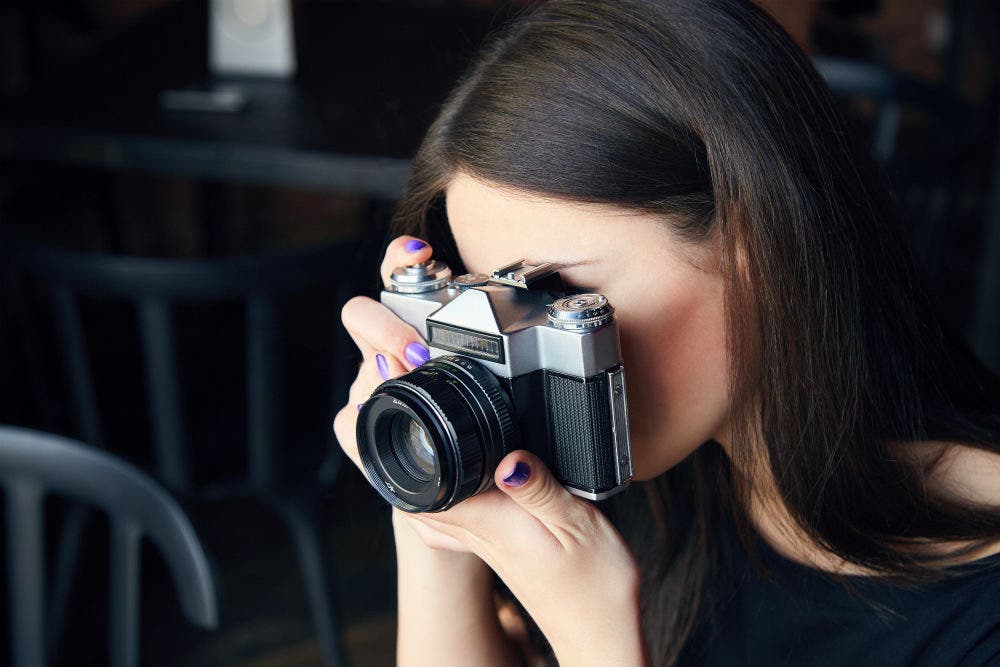
The old photographer’s saying goes, the best camera is the one that you have. Practically any kind of camera nowadays can capture spectacular portraits. What truly matters is that you know how to use it and utilize its benefits in order to bring out the best in your subject and setting.
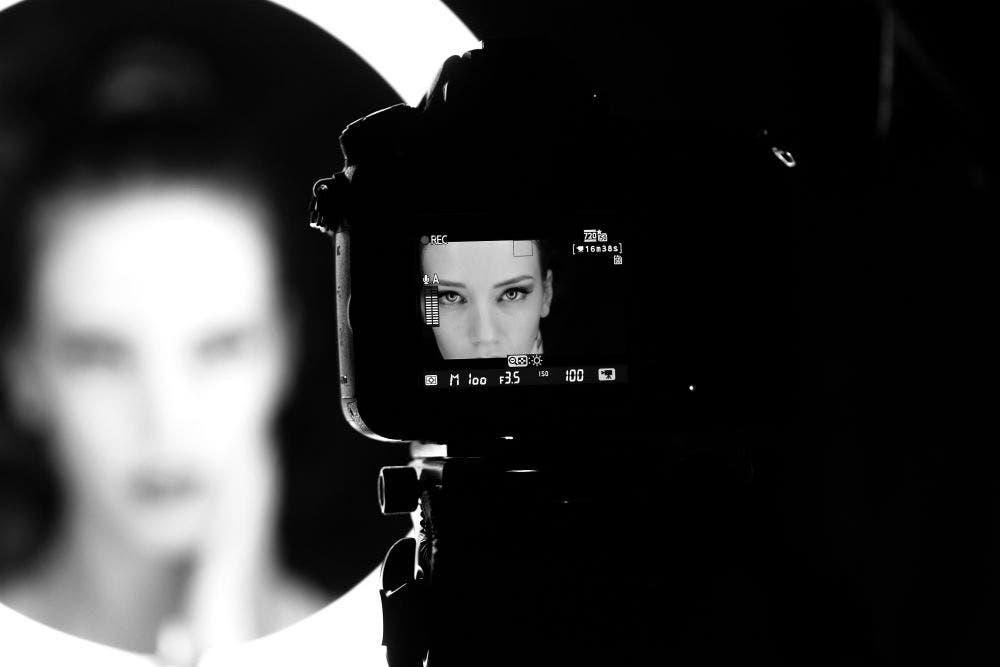
Camera phones are usually limited in terms of exposure, aperture and speed control, but many can usually deliver very sharp shots. Mirrorless, DSLR, and film cameras are the best choices for both beginners and more serious photographers as they allow creative liberty and deliver higher resolution images that are detailed enough for prints. Nowadays, even action cameras are being used to capture more playful, in-action, and wide-angled portraits. Whatever your ideal output is, it’s easy to find the right type of camera for you. And once you do, it’s your responsibility as a shooter to figure out the camera settings that work for you.
What are the best camera settings for portraits? There’s no specific answer, because different situations call for different settings.
4. Keep samples
One of our favorite portrait photography tips is to have pegs printed out or saved on your phone to remind you of your desired output. Another plus is that you can show it to your model so he or she has a better idea of how you want them to pose. Of course, you should always be realistic when it comes to your ideal results. It’s best to stick with simple portraits with natural lighting, at least for your first few portrait photography sessions, than with highly-edited shots and complicated lighting.
5. Mind the eyes
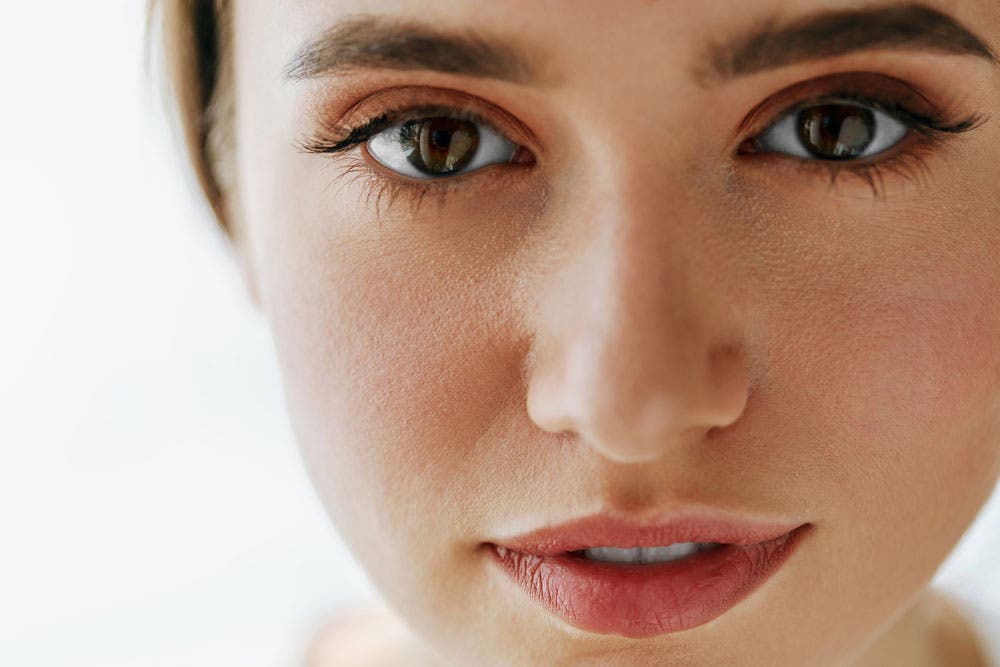
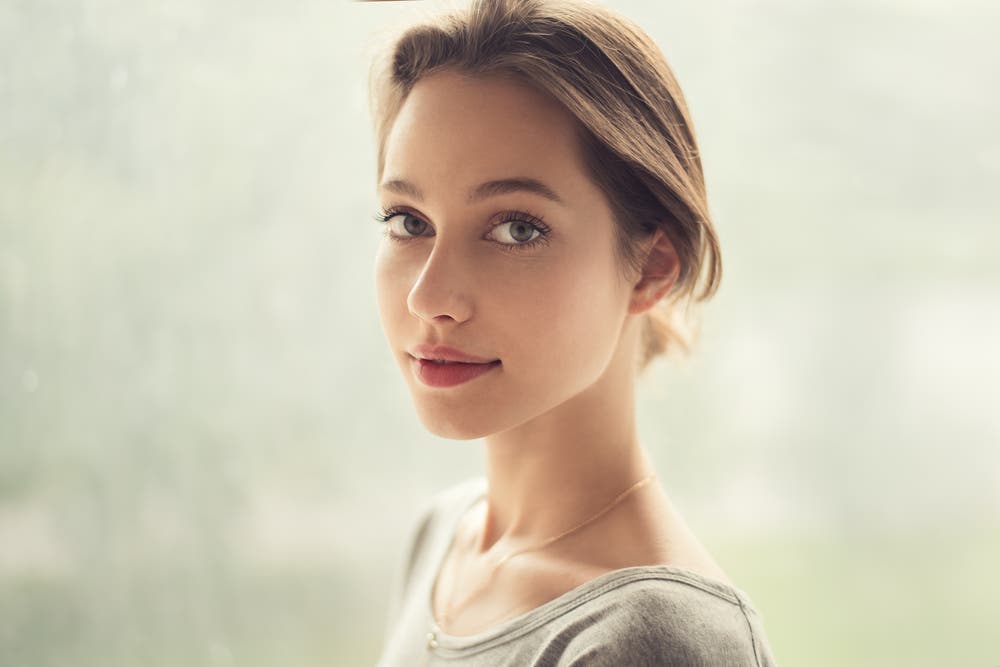
This is perhaps one of the most important—and overlooked—portrait photography tips for beginners. The eyes are said to be the “windows to the soul,” and any portrait can lose its life when the eyes are either hidden or too dark.
To take the most stunning close up portraits, you’ll want to place emphasis on the eyes. This means making sure that the eyes are sharp and have a good amount of light reflecting on them. If possible, manually place your autofocus (AF) point on the eyes to make sure that it’s sharp even when you’re using a more shallow depth of field.
5. Change angles
Once you’ve learned how to take good portraits, you may want to play it up a bit to add personality and a storytelling aspect to your photos. It’s advisable to get on your subject’s level, especially if they’re small children. Seeing your subjects eye to eye is the best way to give your images a more personal feel. Consider moving in close and shooting from a different angle if you wish to focus on other features, such as the lips, ears, and nose.
A seemingly silly but effective technique of achieving a more realistic perspective of your subject is using focal lengths of 50mm or 700 and zooming with your feet (than with your lens) until the subject’s face fills the frame. This technique is used by professional photographers in order for facial elements to look flatter, thus making the nose look shorter than it would when shooting closer with a wider-angled lens.
7. Use props
Creative limits are reduced when you’re a resourceful shooter. You’ll be surprised what kind of props even professional photographers use behind the scenes just to achieve their desired output! Car reflectors, Styrofoam boards, and even flashlights are props that are commonly used to bounce and add more light to your subject’s face and eyes.
Aside from having accessories and a venue that will complement your model, you may also want to include some props that you can include in your shot. Having props in your images adds interest to your photos and gives the observer more things to look at, even better if the props are connected to your overall theme. However, many professionals actually do the exact opposite and use props that add contrast to the subject. Don’t be afraid to experiment with textures, colors, and even backgrounds. This is where many professional photographers’ signature concepts and styles come from!
8. Shoot in RAW and B&W
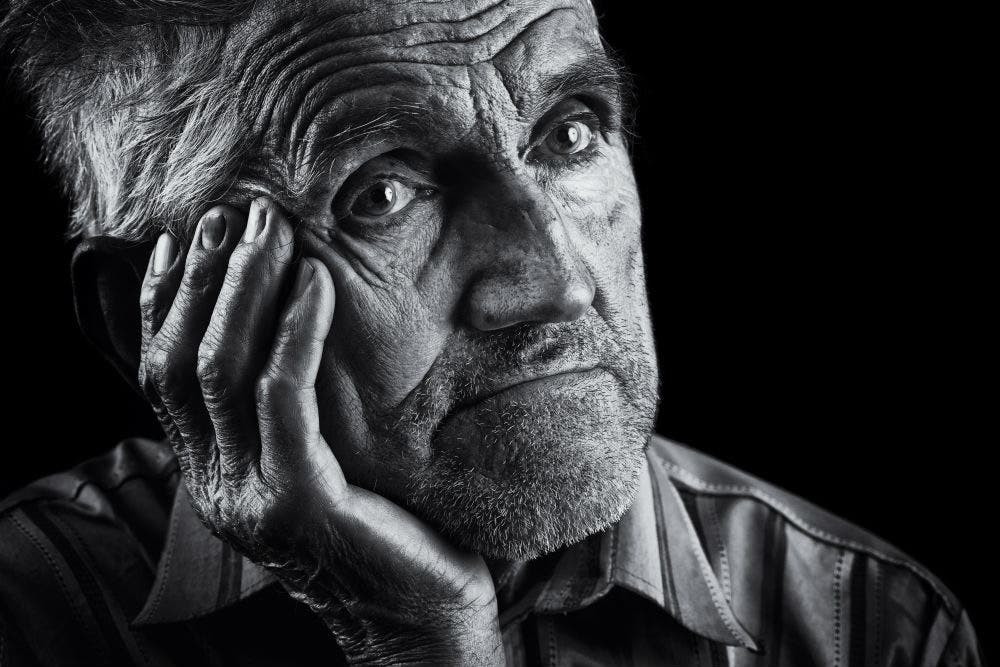
What sets experienced portrait photographers apart from beginners is their ability to produce amazing yet unique photos. Try shooting in monochrome or in black and white to give your photos more drama and highlight different textures within the image. You can also try shooting in RAW format than in the usual compressed JPEG format. Shooting in RAW format produces “digital negatives” that preserve detail and produce high-resolution photos that are much easier to edit later on—this means you can correct overexposed photos, edit unattractive blowouts, and salvage portraits that you can use for huge prints.
9. K.I.S.S.
Basic photography workshops will teach you one very important thing—Keep It Simple, Stupid. While there are no limits to how many subjects you want in a photo, it’s still best to keep your composition simple if you want to produce a stunning portrait. After all, the main subject in photos is your model and everything else should just complement and support your desired theme. If you’re not able to find an interesting background or prop, there’s no need to fret. All you’ll really need is your camera and your model.
10. Invest in a good camera
Any professional photographer will tell you that every beginner ought to level up and explore their artistic potential. Once you’ve understood the basics of taking good portraits, including the Rule of Thirds and allowing just enough head room, find a good camera brand that offers what you need in terms of camera characteristics and invest in good photography gear. It may seem expensive at first, but you’ll find that the creative opportunities and wide variety of output definitely outweigh the cost—especially if you plan to go professional in the long run.
Article By:- Adorama.com



No comments:
Post a Comment