
How many times have you taken a photo, thought it was great, and only realized later that there's something in the shot that you don't want to be there?
It's happened to me plenty of times over the years, despite my best efforts to pay attention when I'm composing and framing the shot.
But despite our best intentions, sometimes unwanted features find their way into our photos.
Thankfully, we have tools that enable us to remove objects in Photoshop.
In the video above by the Photoshop Training Channel, Jesus Ramirez presents a tutorial on three different Photoshop tools you can use to remove anything from a photo.
Whether it's a beach ball or a photobomber or a car, these tools will do the trick!
Remove Objects in Photoshop With Content-Aware Fill
 YouTube Screenshot/Photoshop Training Channel
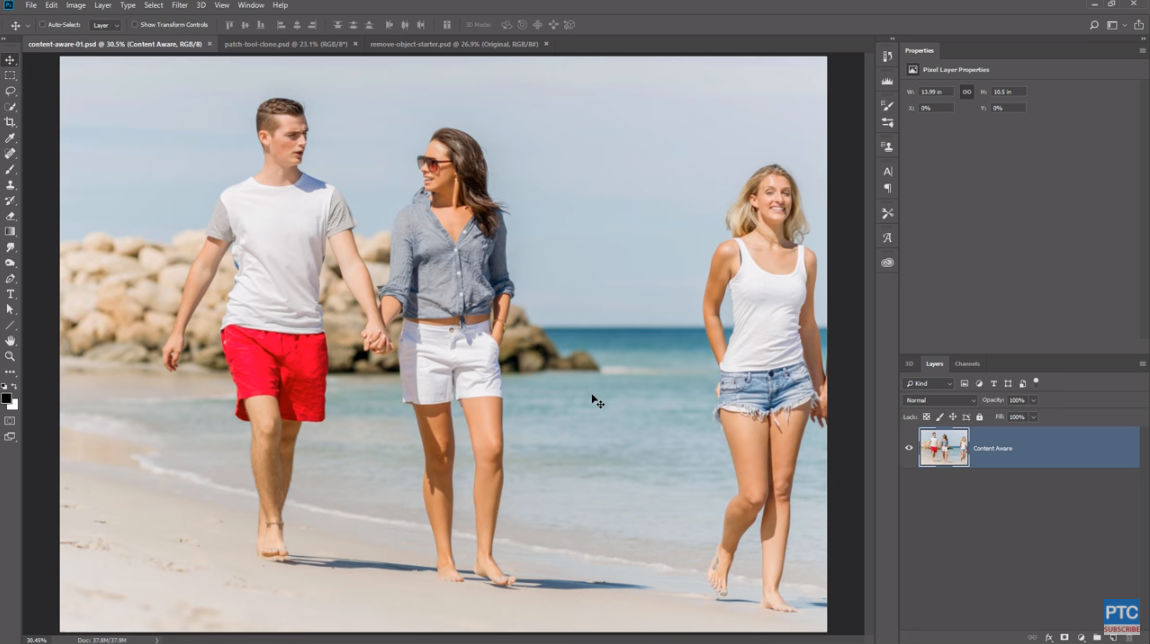
In the screenshot above, you can see how the woman on our right has photobombed the picture.
Removing her is actually quite simple if you use Content-Aware Fill.
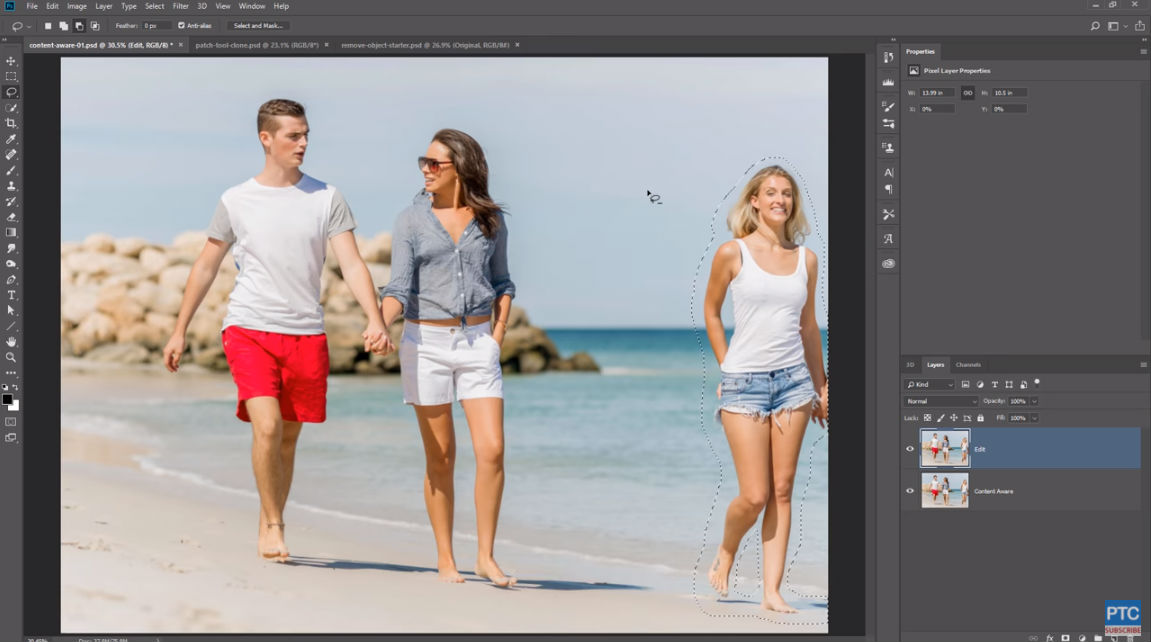
The first step is to duplicate the layer. Then with the Lasso Tool, freehand a selection around the woman trying to keep it close to her body to preserve as much of the original background as possible, as seen in the screenshot below.
 YouTube Screenshot/Photoshop Training Channel
The next step is to fill the selection.
To do so, go to Edit > Fill > Content-Aware. Make sure you have the Color Adaptation box selected and press OK.
 YouTube Screenshot/Photoshop Training Channel
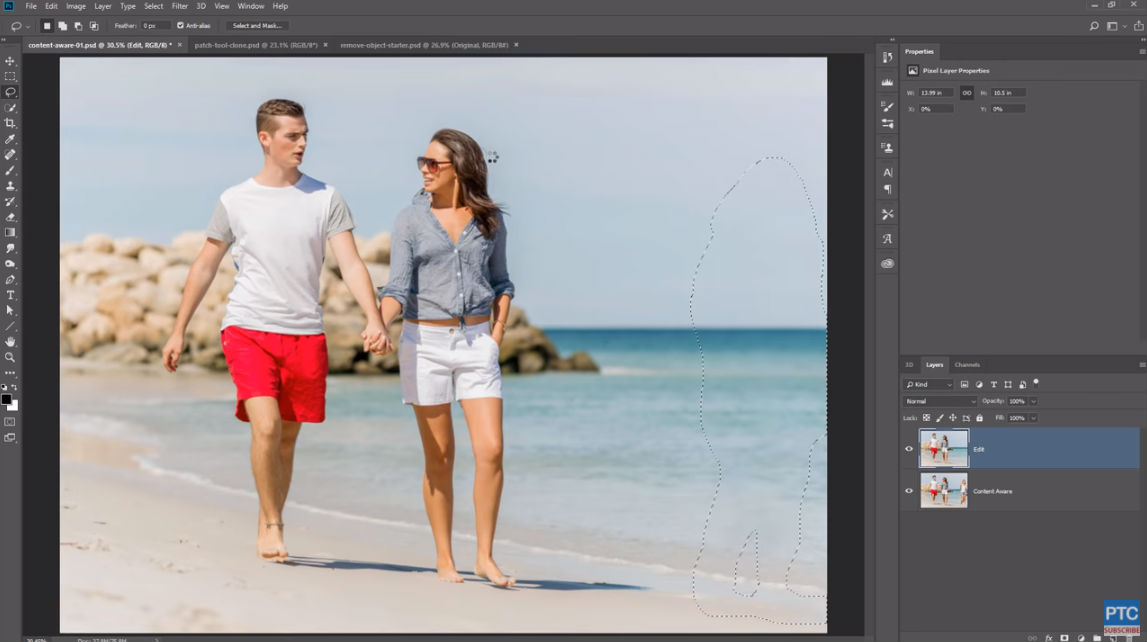
Once you do so, you'll notice that the woman disappears from the shot.
All you need to do is press Command/Control D to deselect the selection, and your photo will be good to go!
Patch Tool
 YouTube Screenshot/Photoshop Training Channel
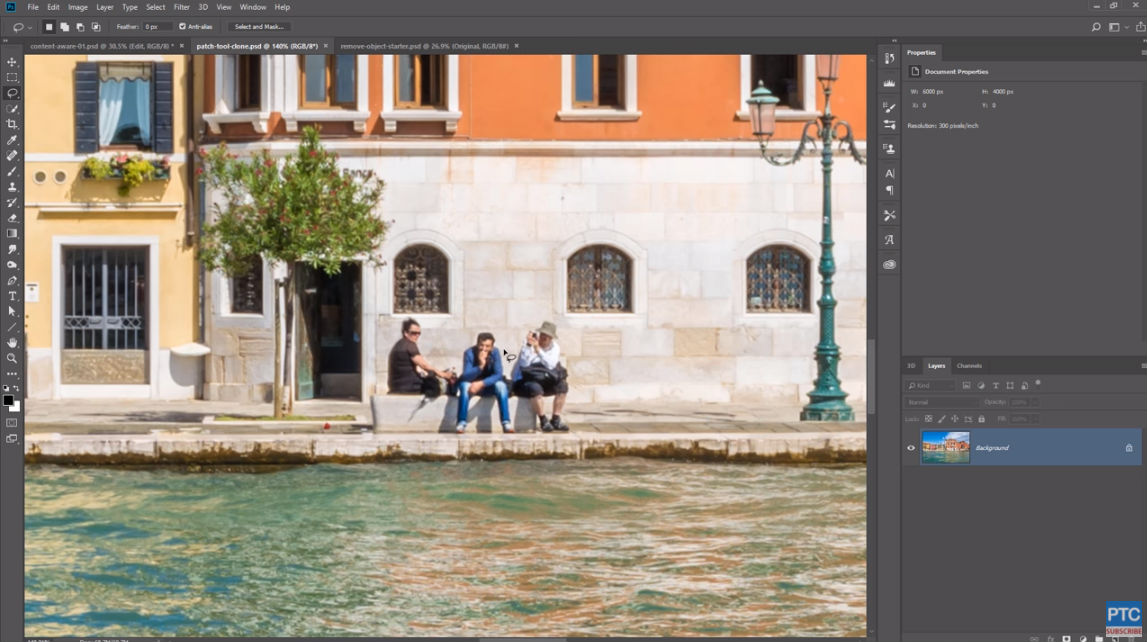
Another method by which you can remove unwanted objects from your photos is the patch tool.
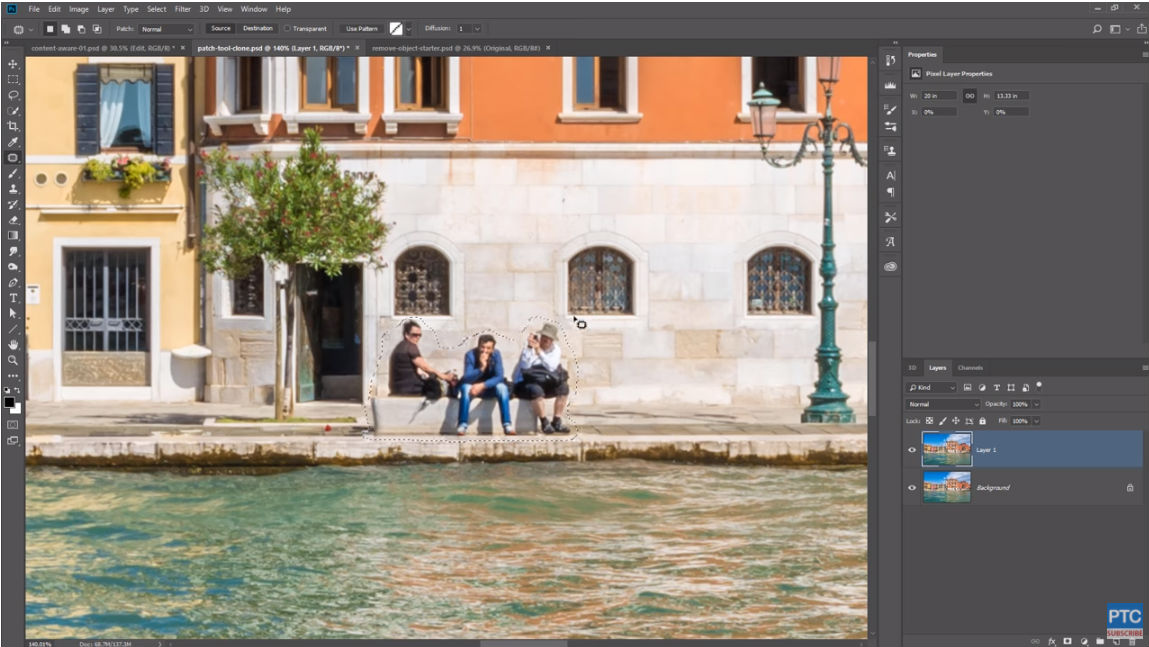
In this example, Jesus uses the image above for this tutorial, and we'll learn how to remove the three people from the image.
As above, the first step is to duplicate the layer so you can work on the image non-destructively.
 YouTube Screenshot/Photoshop Training Channel
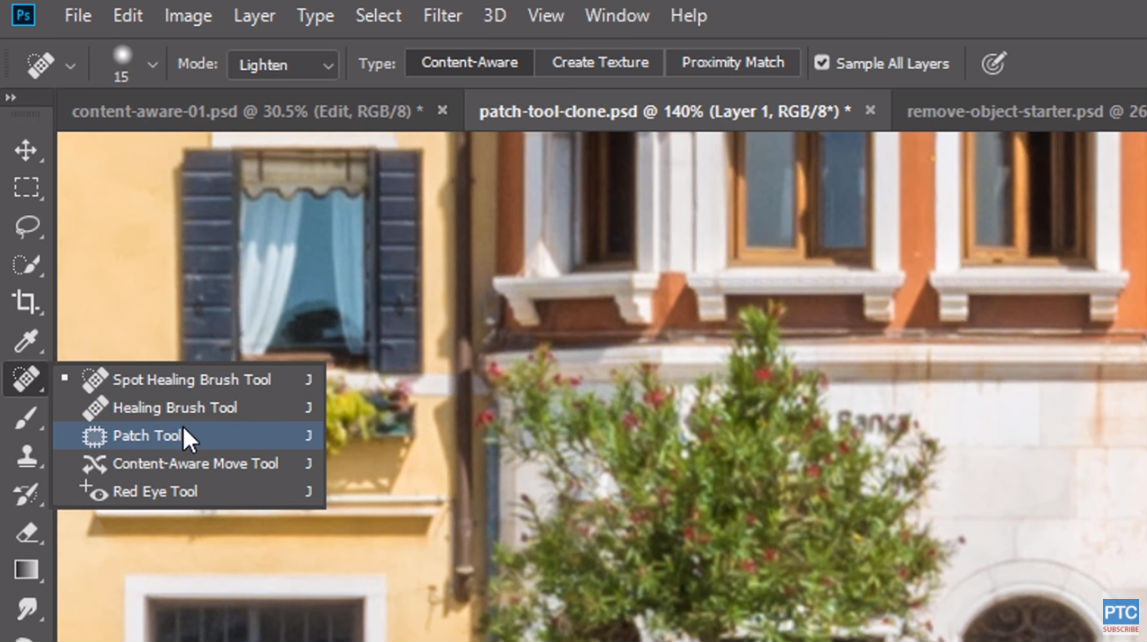
Then, select the Patch Tool, which is nested under the Spot Healing Brush.
Also make sure that Normal is selected in the Patch Dropdown Menu at the top of the screen and that Source is selected as well.
Next, using the Patch Tool, you draw a selection around the pixels that you'd like to replace.
 YouTube Screenshot/Photoshop Training Channel
After that, you need to find a source area that matches the background you'd like to replace the selected pixels.
As shown above, once you do that, you click and drag the selection you've made to the source area. Doing so will give you a preview of what the selected area will look like.
 YouTube Screenshot/Photoshop Training Channel
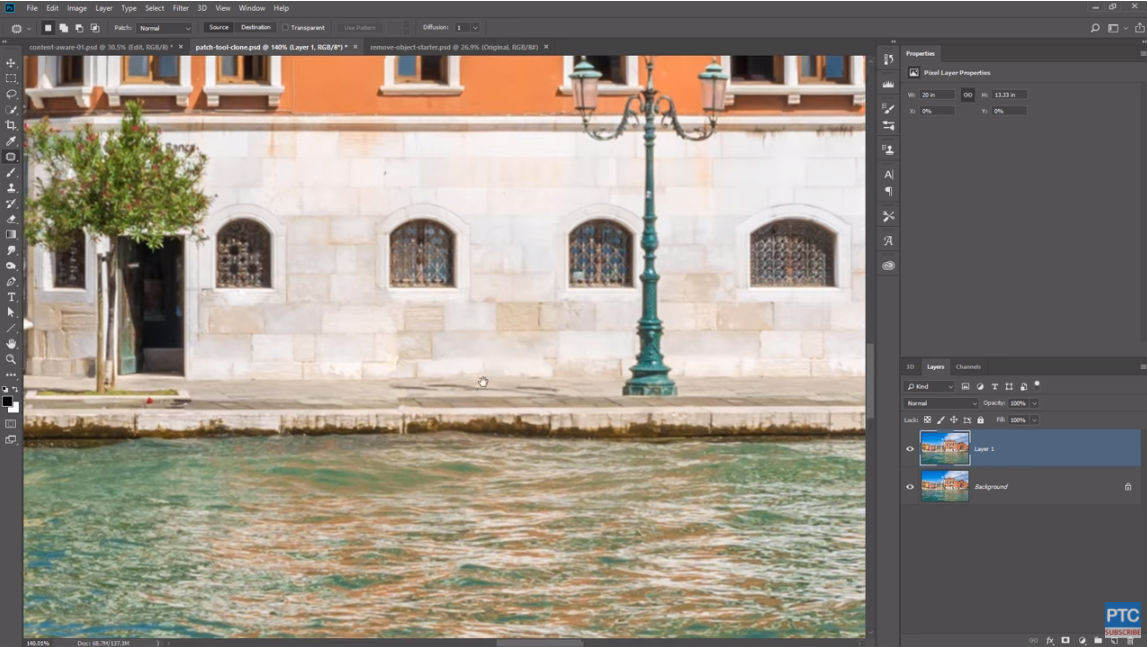
As you can see in the final product, the patch tool did a decent job of eliminating the unwanted people from the shot.
It's not perfect, but with some fine-tuning, it could be!
Advanced Photoshop Method for Removing Objects
 YouTube Screenshot/Photoshop Training Channel
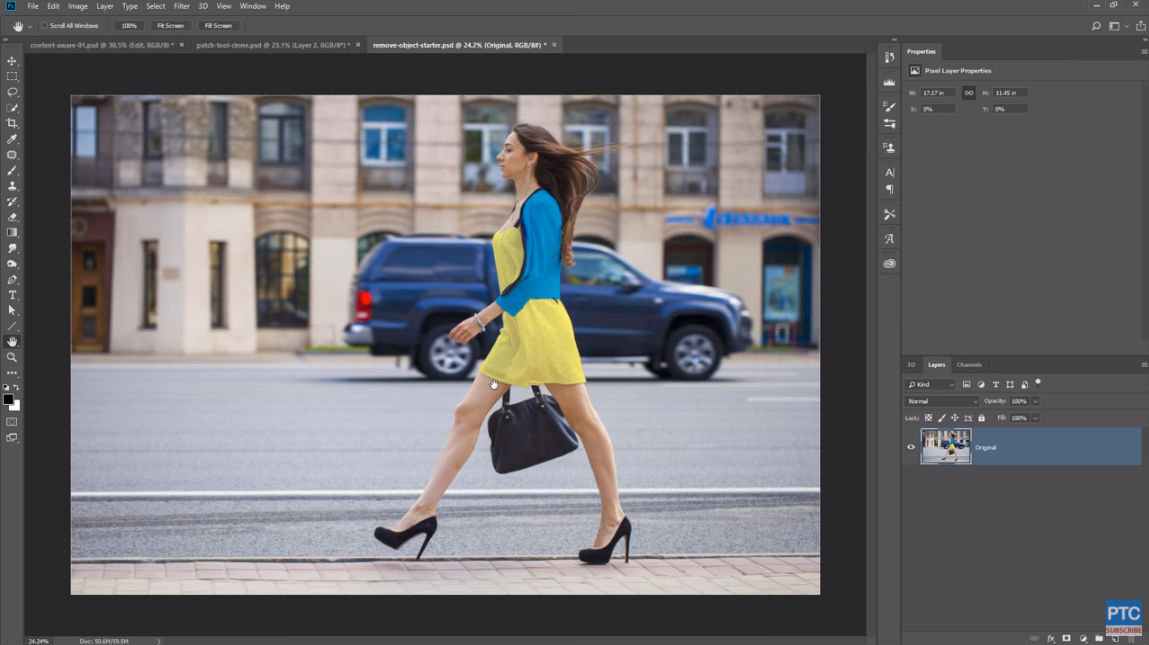
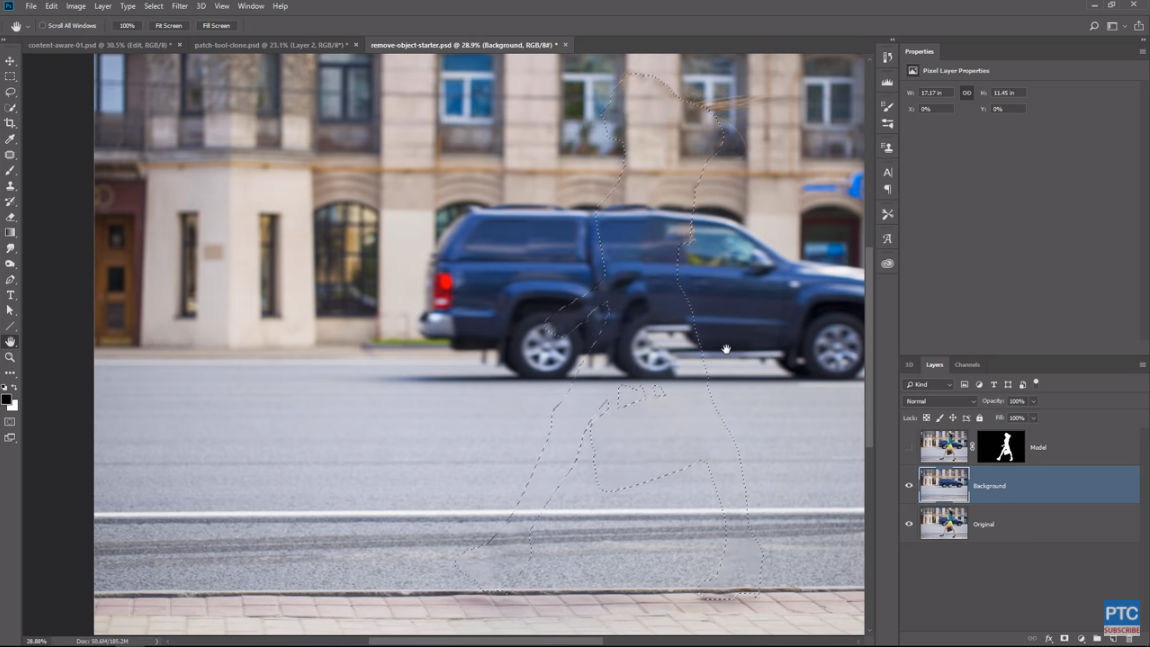
What happens if you have a more complicated object to remove, like the SUV in the image above?
In that case, you have to use a process that's a little more complex, but generates excellent results.
Again, the first step is to duplicate the background of the original image, only this time you need to duplicate it twice.
Doing so allows you to create a top-most layer for the model and one under that for the background.
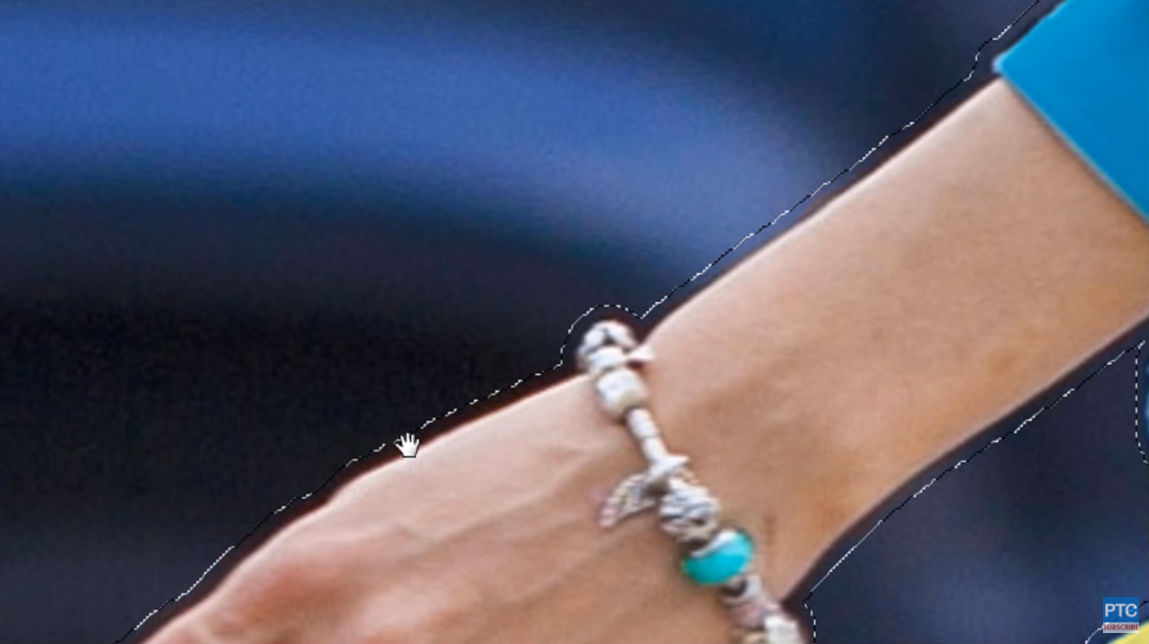
Working with the model layer, use the Quick Selection Tool to select the model. Once the selection is perfected, create a layer mask.
 YouTube Screenshot/Photoshop Training Channel
Next, you need to create a layer that only includes the background.
To do so, use the model layer mask. First, Command/Control Click on the layer mask to load the selection.
Then, select the background layer. Once it's selected, go to Select > Modify > Expand, which will make the model layer mask larger. As you can see below, the selected area has now expanded beyond the border of the model.
 YouTube Screenshot/Photoshop Training Channel
With the background selected, press Shift + Backspace to open the Fill window.
Then select Content-Aware and be sure that the Color Adaptation box is selected. Press OK.
 YouTube Screenshot/Photoshop Training Channel
Photoshop will work its magic, and as you can see above, it will remove the model from the background layer.
Upon closer inspection, you can see that it hasn't done a perfect job, but that's not a problem because the next step will build a new image on this background.
As you can see in the screenshot above, we'll need to duplicate the wall, windows, and columns behind the car to take the car's place in the photo.
That process is fairly complicated and involves a number of steps, so it's best to go to the 10-minute mark in the video to see Jesus in action to complete this step.
Remember, the Content-Aware and Patch Tool are both excellent means of removing less complicated objects from your photos, and will likely be all that you need for most situations.
With these photoshop editing tips, you should be able to tackle just about any problem that requires you to remove objects in Photoshop!
Article By:- Photographytalk.com
No comments:
Post a Comment