If you photograph landscapes, one of the best pieces of kit you can buy is a graduated ND filter.
These neutral density filters can be life-savers in situations in which there is a wide dynamic range, or, in other words, a sky that's a lot brighter than the landscape.
Naturally, this is a situation that's often encountered in landscape photography, which is why having a graduated ND is so important.
The question is, how do you use a graduated ND filter?
ND Grad Types and Uses
To begin, it's important to note that not all graduated ND filters are made alike.
Cheap, poorly made filters won't do you any favors as they will reduce the sharpness of your photos and are more likely to create color casts in your images.
Instead, when buying a graduated ND filter (or any filter, for that matter), you want to outfit yourself with something that's high-quality and durable.
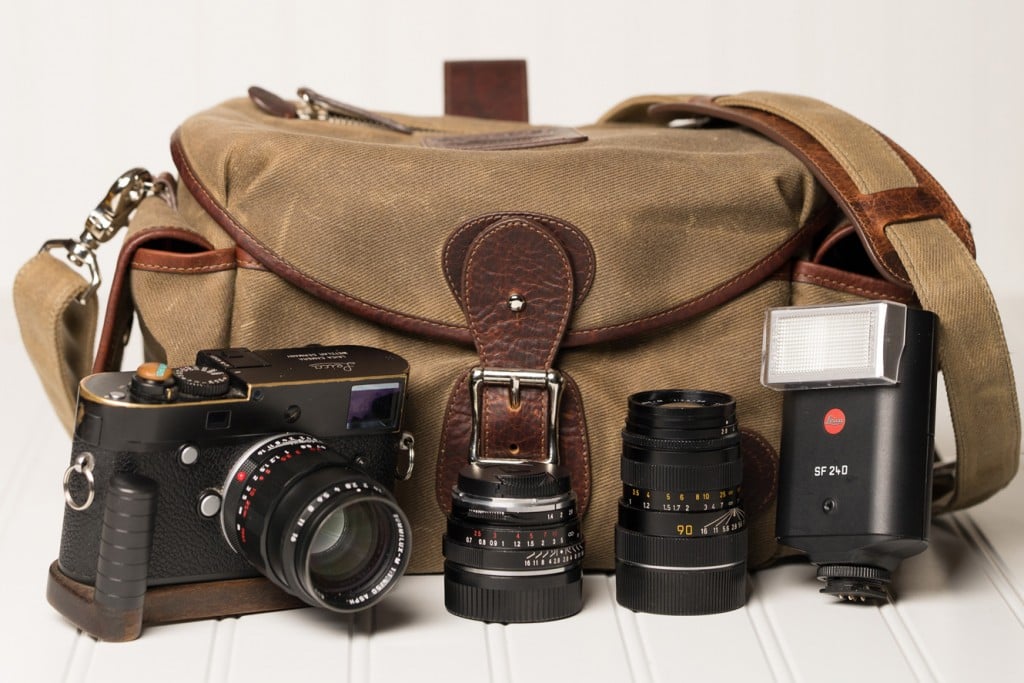
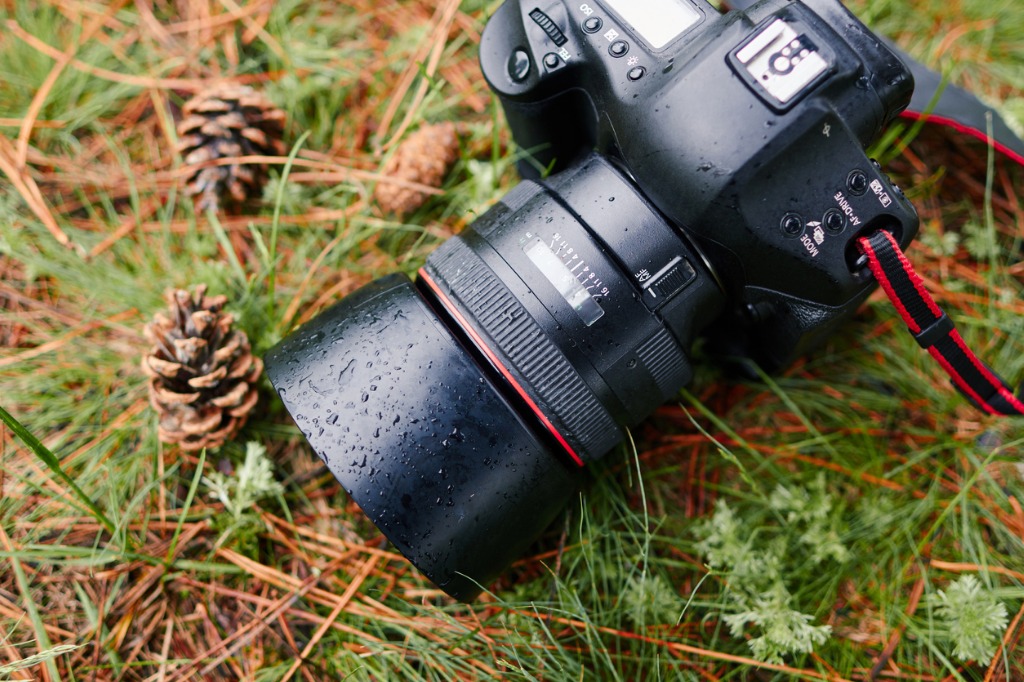
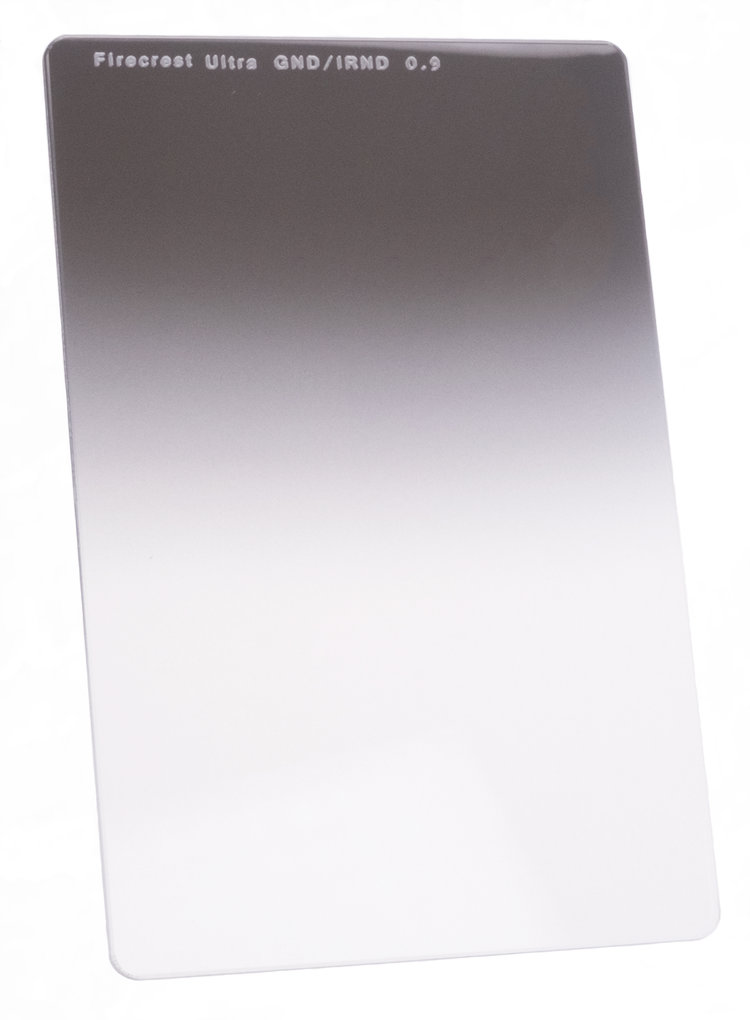
For my money, that means going with Formatt-Hitech Firecrest Ultra Graduated ND filters, like the one shown below.
These filters are made with a lap and polish technique, which gives them incredible durability for long-lasting performance.
What's more, the lap and polish process produces filters that are hyper-neutral, meaning you don't have to worry about color abnormalities in your photos.
Instead, you get professional-grade results that are the peak of clarity and sharpness.
Using graduated ND filters requires an understanding of the different types that are available.
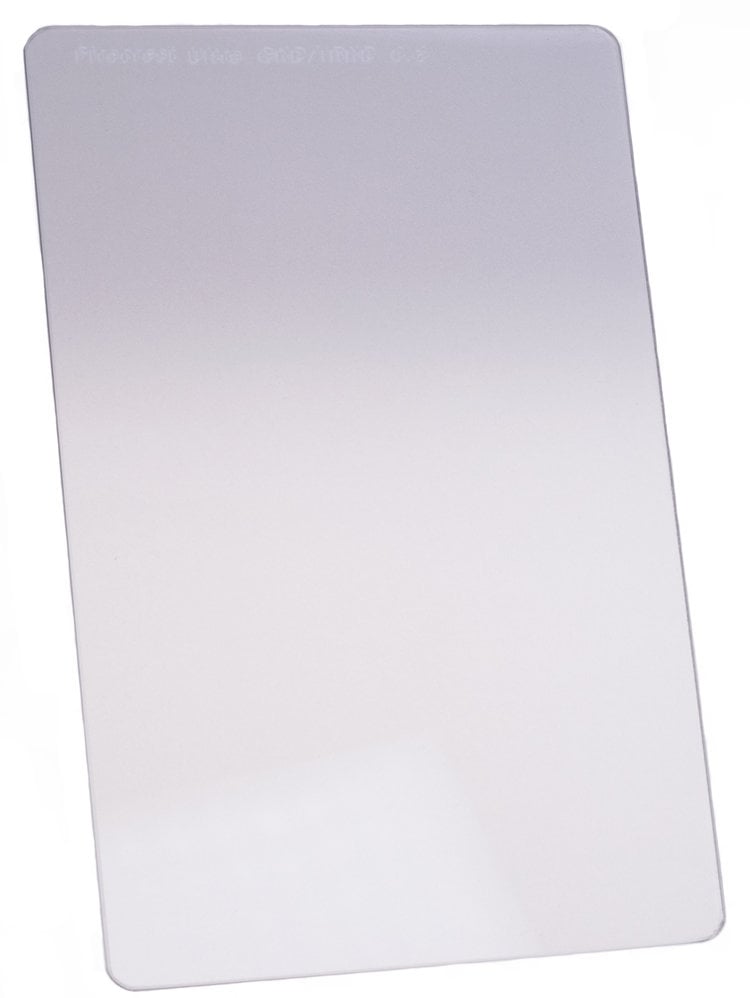
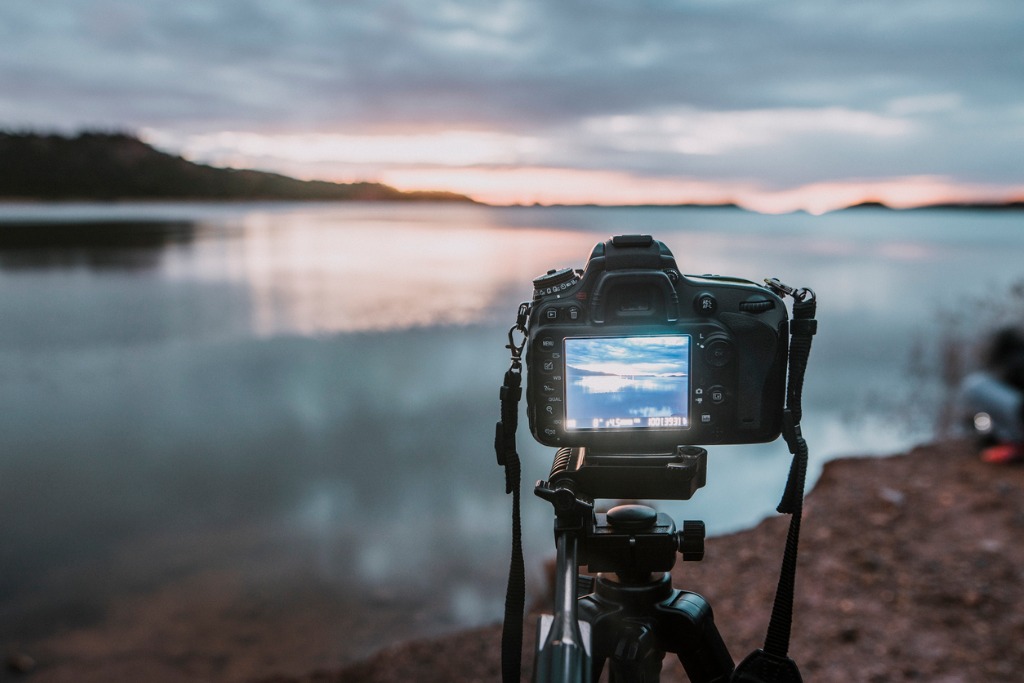
Primarily, there's soft-edge grads and hard-edge grads.
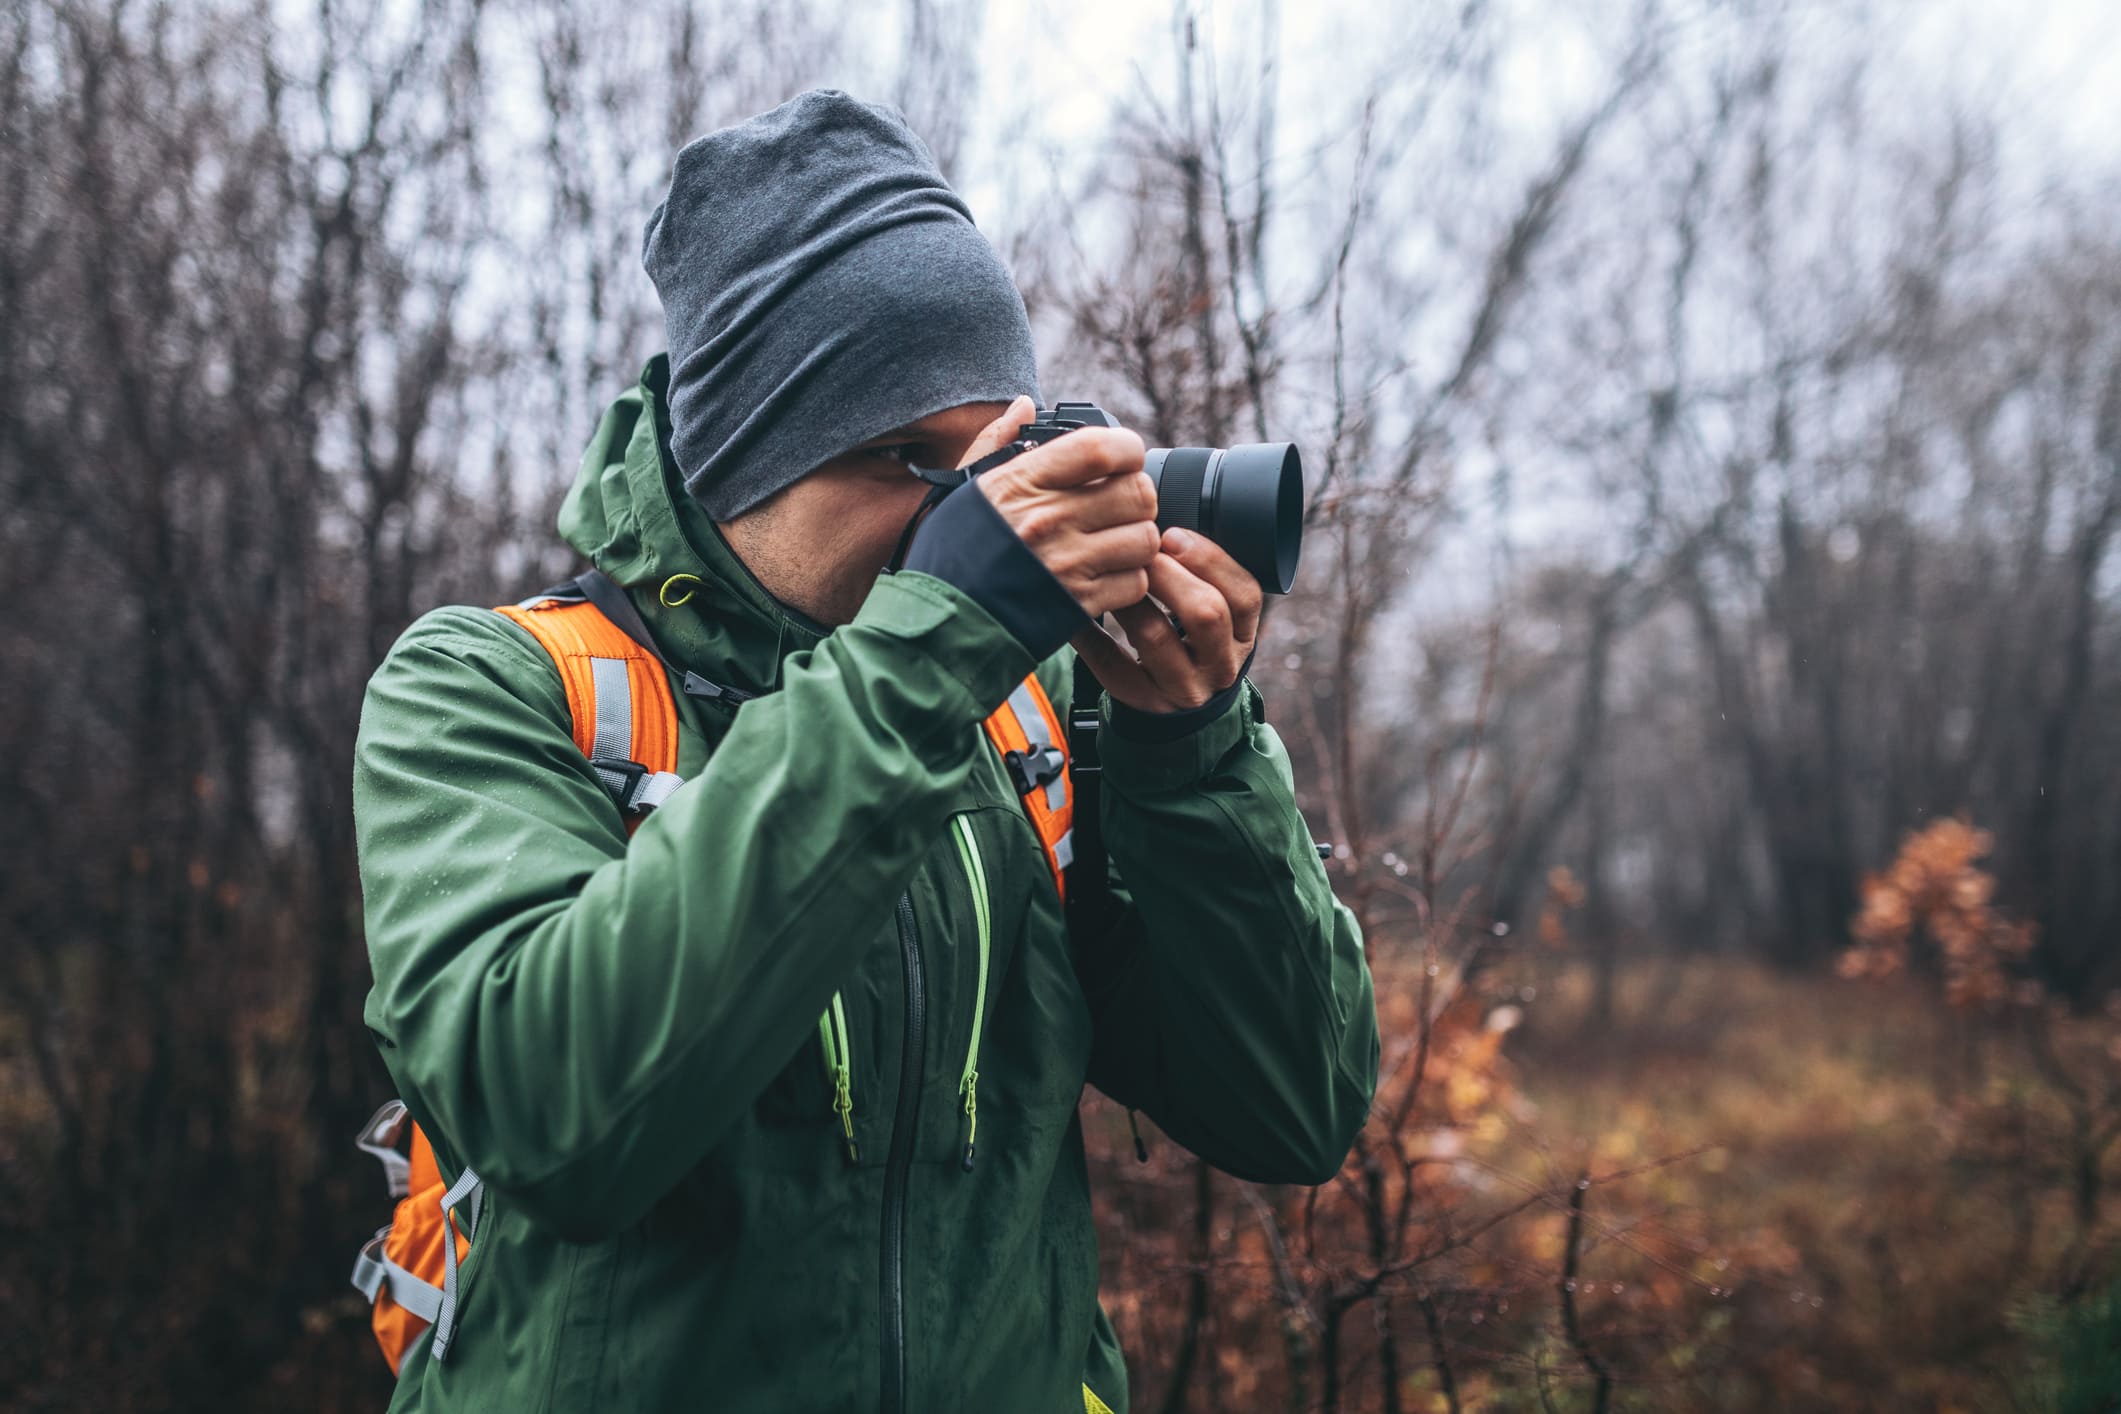
The former has a wide area of transition from the filtered to the non-filtered area. These are ideal for use when photographing landscapes that do not have a definite horizon, as shown above.
Hard-edge grads, on the other hand, abruptly shift from filtered to non-filtered glass.
That hard transition is ideal for situations in which there is a distinct, flat horizon.
Since most landscapes do not have a definite horizon, a soft-edge grad is usually the best bet for most situations.
How to Use a Graduated ND Filter
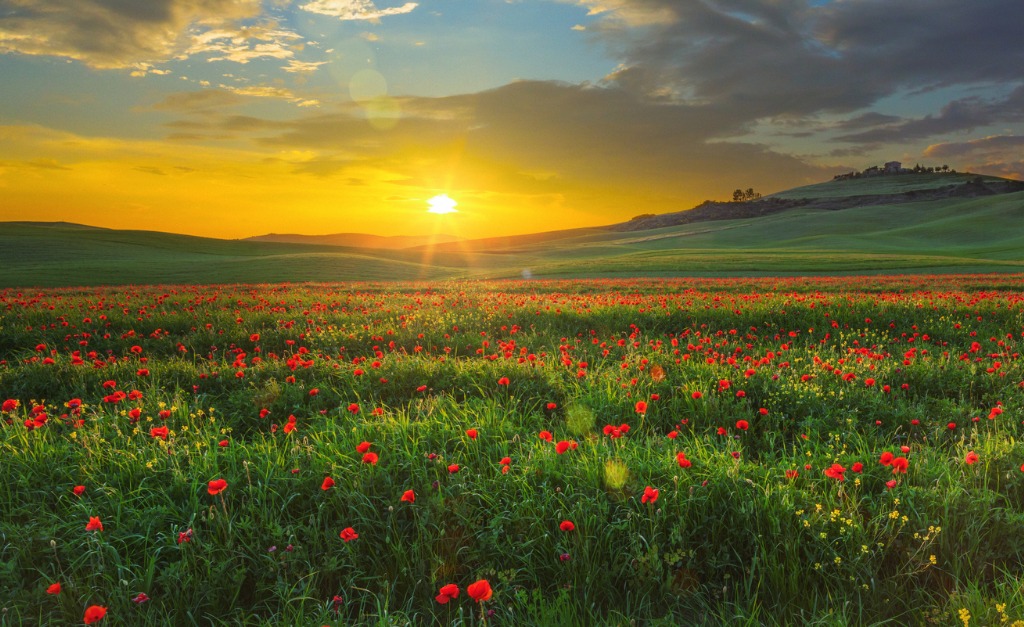
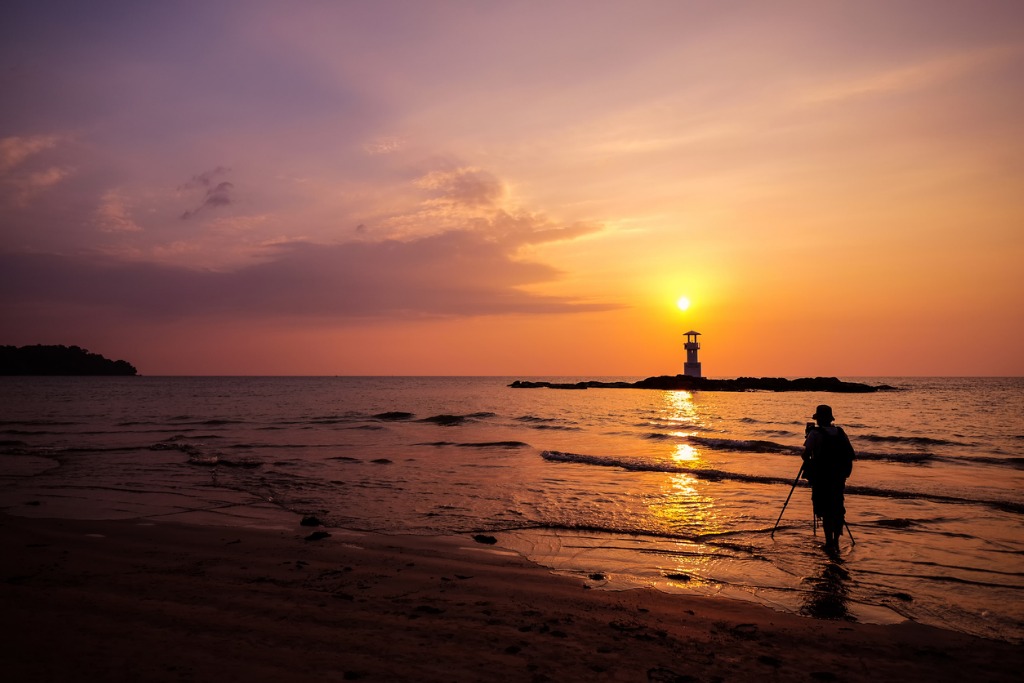
The best time of day to use a graduated ND filter is in the morning or the evening, near sunrise or sunset.
That's because at this time of day, the sun is illuminating the sky, making it quite bright, but often the landscape is cast in shadow, making it quite dark.
Now, there are different strengths of filters, which are measured in stops. The higher the stop, the more filtering power.
Since the sky is usually brighter than the landscape by about 3-5 stops in typical conditions, a 3-stop graduated ND will do the trick most often.
However, if the sky is really, really bright, you can add a 2-stop filter in front of a 3-stop filter to get 5 total stops of power.
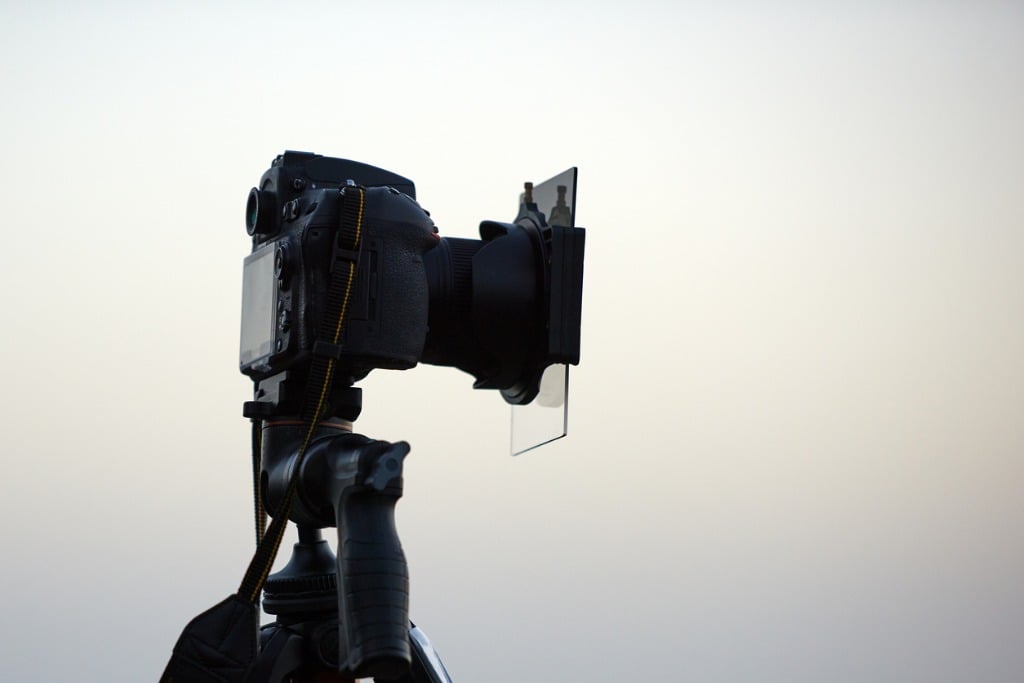
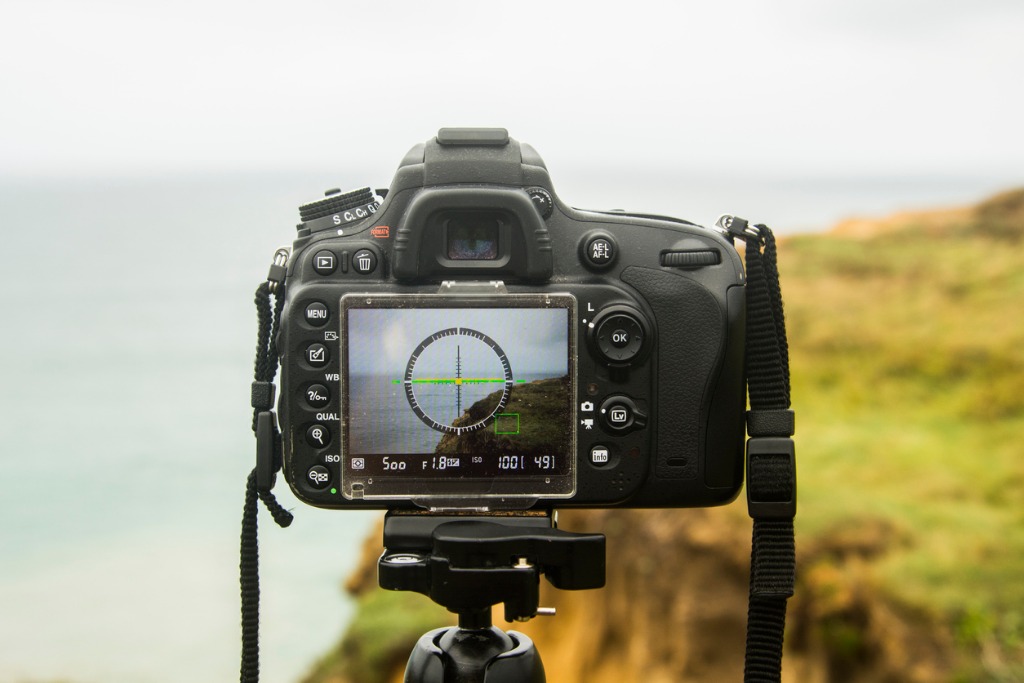
To put the graduated ND filter's powers to good use, you have to have a filter that mounts to the end of your lens via an adaptor ring that's sized for your specific lens.
These holders, like the one shown above, help create a tight seal between the filter and the end of the lens.
You need that tight seal to prevent light leaks or reflections off the filter from interfering with the shot.
All you have to do is slide the graduated ND into the filter holder, adjust its positioning by either taking a test shot and examining the results, or using live view to make adjustments before taking a photo.
Now, since a graduated ND filter darkens the sky, and you already have a darkened landscape, you might find that the images you initially take are underexposed.
To correct for this, you will need to adjust your exposure settings to brighten the image.
If you're shooting in aperture priority mode, you can easily open the aperture by a stop or two or boost the ISO to get a brighter image, and the camera will adjust the shutter speed to get a good exposure.
If you're dabbling with longer exposures, shoot in shutter priority mode, make adjustments to the shutter speed and ISO to brighten the exposure, and the camera will adjust the aperture as needed to get a well-exposed image.
Get a complete tutorial on using ND grads in the video above by Professional Photography Tips.
Using Graduated Neutral Density Filters Requires Some Fine Tuning
Slapping a graduated ND in front of your lens and firing off shots isn't how to get the best results.
Instead, you'll need to fine-tune the positioning of the filter on the vertical and horizontal axes.
That means shifting the filter up and down in the holder to determine the best spot relative to the horizon.
That also means rotating the filter holder to accommodate horizons that aren't straight.

It's also a good idea to take multiple test shots, including every time you adjust the positioning of the filter.
This allows you to get eyes on the results and make further adjustments as needed.
Using your histogram as a guideline for how the exposure is looking is also critical.
As shown in the graph above, your camera's histogram is a graphical representation of the highlights, shadows, and midtones in the photo.
You want the histogram to peak in the middle and fall off towards the left (shadows) and right (highlights).
If you aren't familiar with using a histogram, refer to this detailed guide.
With that, you have a quick how-to guide for mastering the use of a graduated ND filter!
Article By:- Photographytalk.com


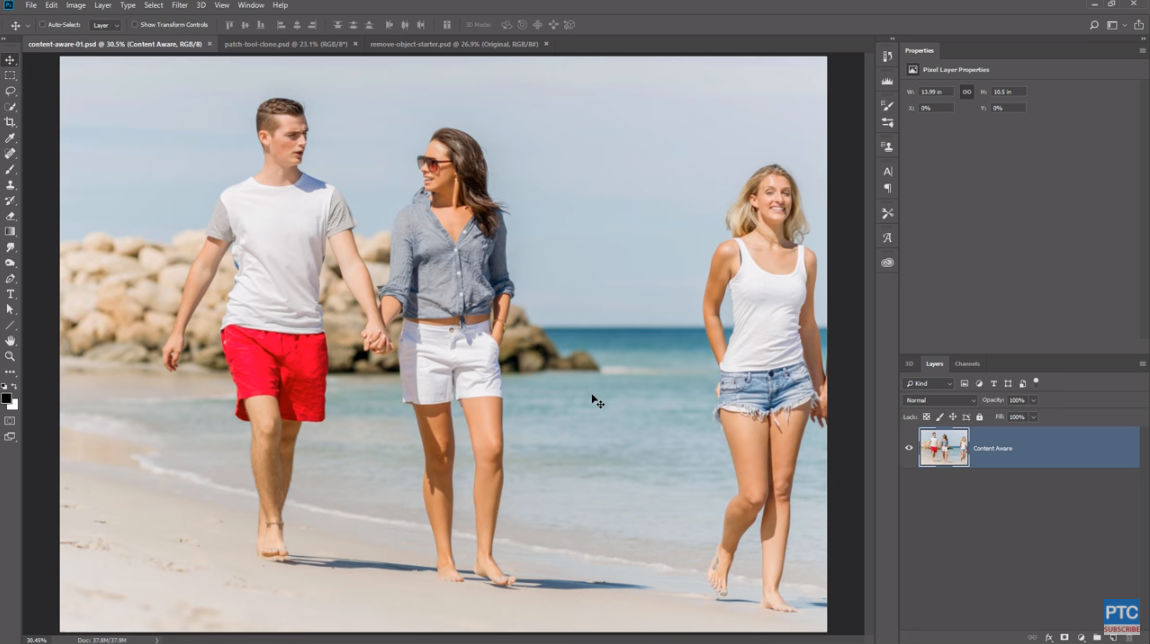 YouTube Screenshot/Photoshop Training Channel
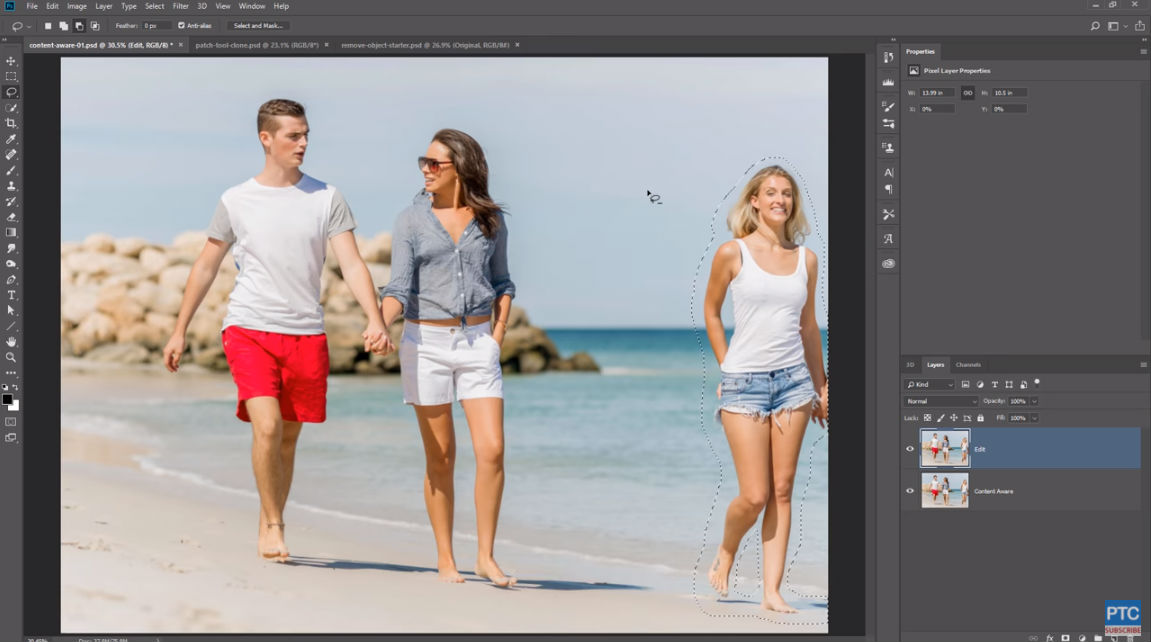 YouTube Screenshot/Photoshop Training Channel
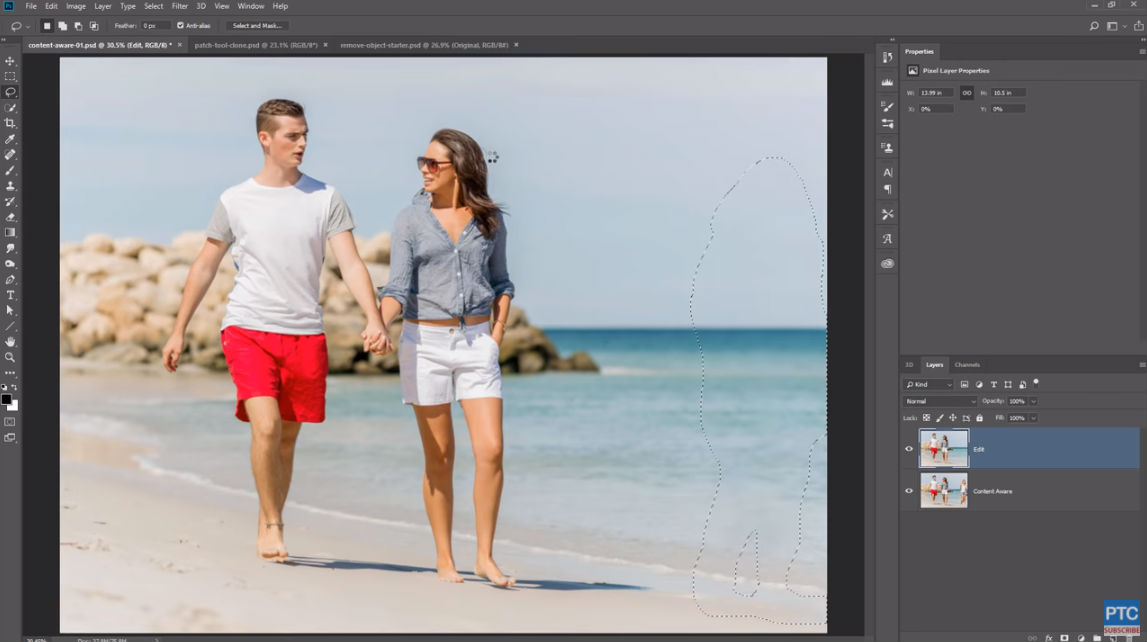 YouTube Screenshot/Photoshop Training Channel
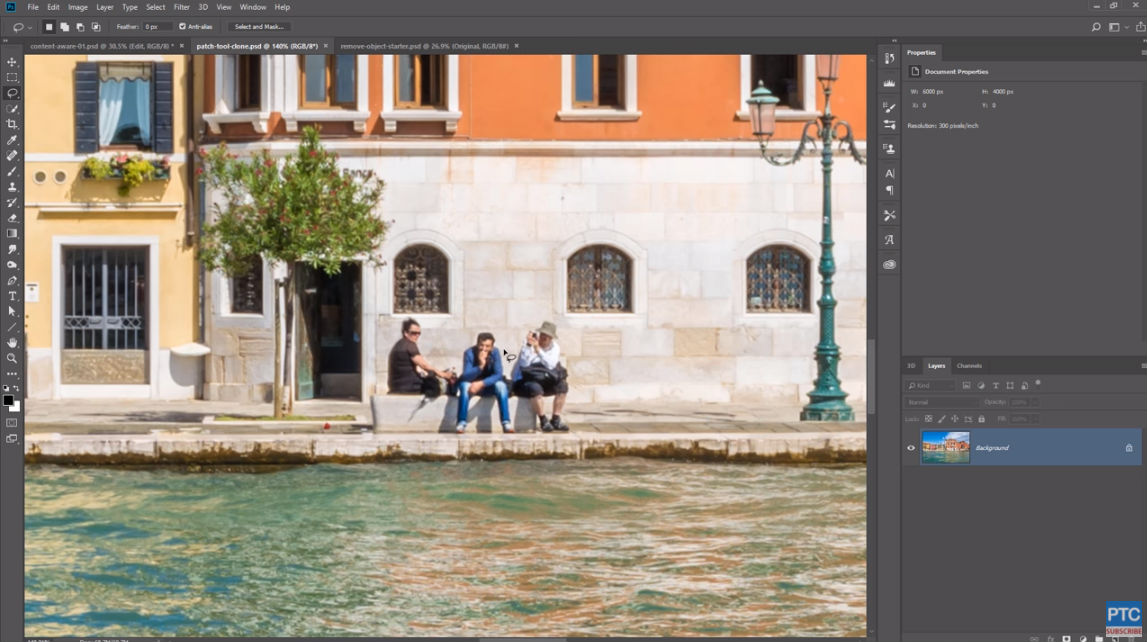 YouTube Screenshot/Photoshop Training Channel
 YouTube Screenshot/Photoshop Training Channel
 YouTube Screenshot/Photoshop Training Channel
 YouTube Screenshot/Photoshop Training Channel
 YouTube Screenshot/Photoshop Training Channel
 YouTube Screenshot/Photoshop Training Channel
 YouTube Screenshot/Photoshop Training Channel
 YouTube Screenshot/Photoshop Training Channel